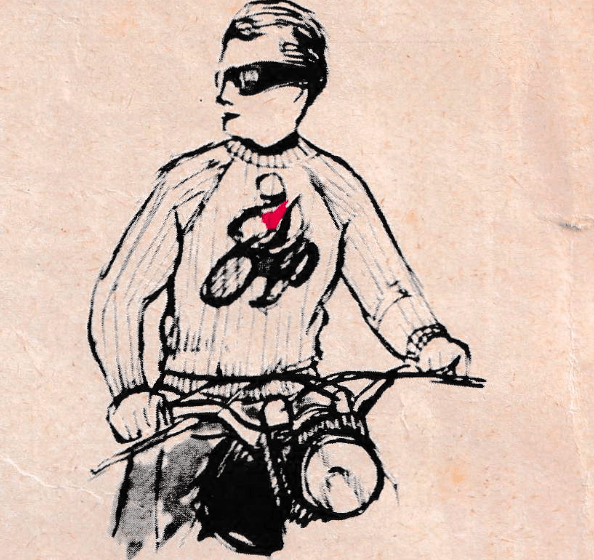
Today I would like to share some awesome vintage intarsia knitting charts with you.
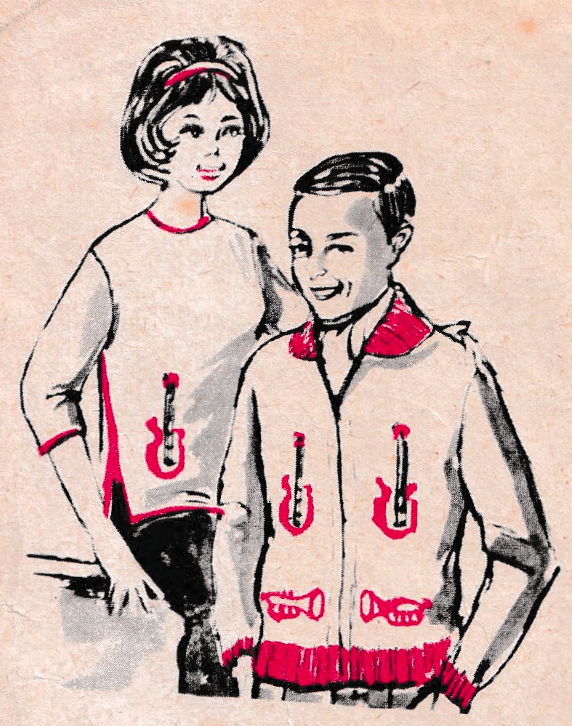
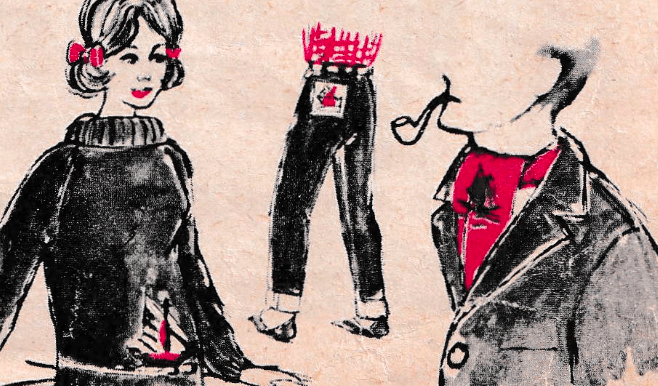
I came across a sheet with the motorbike chart as shown above, as well as boats, guitars and a trombone.
The vintage designs are just too cute not to share.
If you are familiar with intarsia knitting, you will probably know how to position the charts in your projects. You can place them on items such as a sweater, blanket or cardigan.
If you are newer to intarsia colour work you may wonder how to use knitting charts such as the free ones in this article. Please read on for some hints and tips about using intarsia charts in your knitting work.
How to Place an Intarsia Motif into a Plain Piece of Knitting
Adding an intarsia motif to a plain sweater front can look complicated, but it really just comes down to a bit of measuring and some calm planning. First, find the centre of your knitting. If you are working the front of a sweater, count your stitches and mark the exact middle with a removable marker. Then find the centre column of your intarsia chart. Line those two centres up and you instantly know your design will sit neatly and symmetrically. If your stitch count is even, the centre will fall between two stitches, which is perfectly fine, just decide which of those stitches will be the first stitch of the chart.
Next, think about height. Try the piece against yourself or measure from the hem upwards to decide where you want the motif to begin. Do you want it high on the chest, or more central across the body? Mark the row where the chart will start so you do not have to guess when you get there. It is also wise to check that the chart width fits comfortably within your stitch count, leaving a few plain stitches at each side so it does not disappear into the seams.
Finally, knit a small swatch that includes a section of the intarsia design. Colour changes can affect your tension slightly, and it is much nicer to discover that in a swatch than halfway up a sweater. When you begin the chart, introduce the new colours exactly where the chart indicates and remember to twist the yarns together at each colour change to prevent holes. A little preparation makes all the difference, and your motif will look as though it was part of the design from the very beginning.
Consider Duplicate Stitch or Cross Stitch
Before you download the charts, it is worth mentioning that the original pattern suggests working these motifs in duplicate stitch or cross stitch rather than knitting them in using intarsia. In your free download, which includes the motorbike, guitar, boat and trumpet charts, you will see instructions that refer to embroidering the design onto finished fabric.
Duplicate stitch in knitting is simply a way of following the path of an existing stitch with a contrasting yarn, so that you “duplicate” the original stitch on top of your stocking stitch fabric. You use a blunt tapestry needle and work over the knitted stitches, following the chart square by square. It is surprisingly simple once you get into the rhythm of it, and because you are stitching onto completed knitting, you can place the design exactly where you want it without worrying about managing multiple yarns as you knit.
Personally, I prefer to use intarsia because I enjoy knitting the design in as I go, and I think it gives a slightly neater, more integrated finish. That is why this article focuses mainly on intarsia techniques. However, duplicate stitch is a wonderful option if you already have a plain sweater that feels a little too plain and needs brightening up. These vintage charts are ideal for that, and they give you plenty of flexibility to add a bold, graphic motif exactly where it is needed.
Your Free Vintage Chart Download
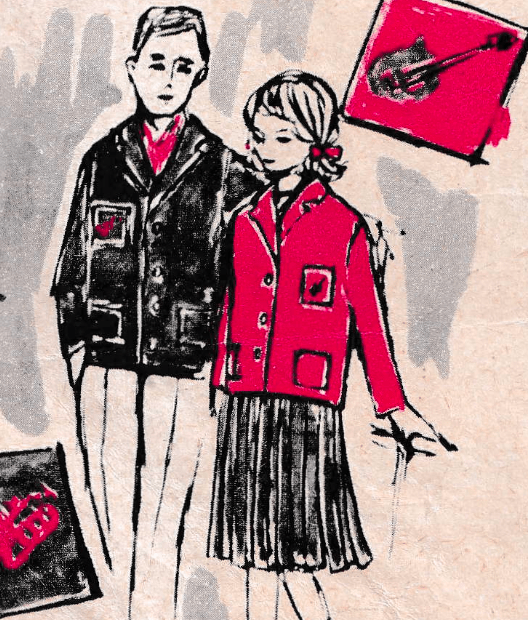
Now that we have talked about how to position your intarsia chart, it is time for the fun part, your free download. As mentioned above, you will find four vintage intarsia charts included, a motorbike, a guitar, a boat and a saxophone. These are genuine old designs with plenty of character, and they lend themselves beautifully to sweater fronts or even split across the two sides of a cardigan, just as shown in the picture. They have that bold, graphic look that works so well in stocking stitch.
I hope you have enjoyed this little introduction to placing and knitting intarsia motifs, and that these charts inspire you to cast something on straight away. Thank you for joining us today at The Knitting Times, and I hope to see you back here again very soon.
Happy knitting!
Click download under the picture to access your free file!


Fantastic article!
LikeLiked by 1 person