Written by Maz
Well I had some very good news recently. I am to become a grandma for the first time! Anyway, to a knitter this of course means that its time to get buying some soft baby wool and knit up a storm.
I am actually very rusty regarding baby knitting, not having made any traditional layette type items since my second child was born (quite a while ago!).
Just so happens that I sell yarn in my Etsy shop, so today I dug out a nice, colourful self striping ball of dk baby yarn and went to work on a little hat. For the full colour range of this yarn, this Ebay shop has lots of it.
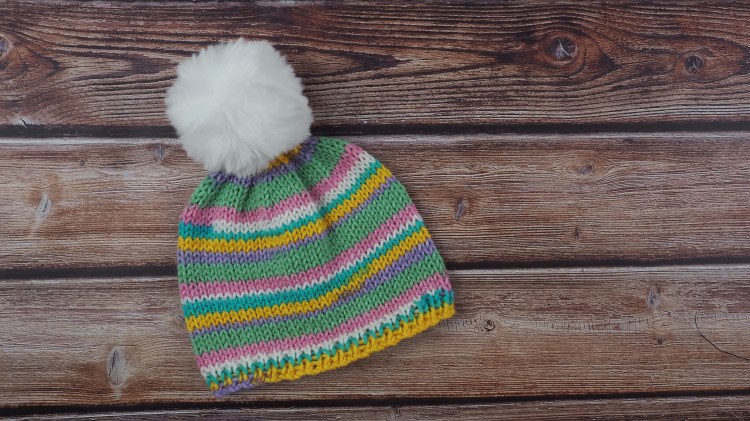
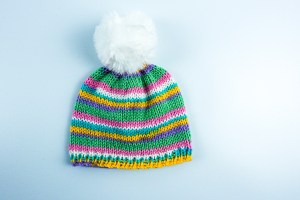
I would say that the size of the finished baby hat is around 0-3m, and it was really easy to knit. As a British knitter, this baby beanie hat is a knit flat design, and I decided to add a cute faux fur pompom for an extra cute finish.
I have written out the simple knitting pattern that I used to make this little hat, and you can find it below. It is pretty basic, however I thought some people might find it useful. You could add a flower or button to add some extra interest, and of course you don’t have to use self striping yarn. The hat would look equally sweet in a plain coloured baby wool.
Post contains affiliate links.
Free baby beanie hat knitting pattern
This free knitting pattern is for a knit flat, basic baby beanie hat.
The size of the baby hat is approx 0-3m. I guess this will depend a little on the size of the baby, the wool you use to knit the beanie, and your knitting tension. The tension of my completed knit baby hat is as follows: Stocking stitch on 4mm needles – 4 stitches and 6 rows over 2cm.
The baby hat is knit with both 3.5 and 4mm needles, and you need less than 50g of a dk thickness yarn.
I used a lovely self striping baby yarn called Baby Prints Anti-Pilling yarn. You can however use any dk thickness baby yarn of your choice, either plain or self striping.
This baby beanie hat knitting pattern is ideal for using up little bits of leftover stash yarn.
Ok, here is the pattern:
With 3.5mm needles, cast on 66 stitches.
Work 4 rows of 1 x 1 rib.
Switch to 4mm needles.
Starting with a k row, work stocking stitch until work measures 12cm from the cast on edge. End with a wrong side row (so right side is facing for the shaping of the top of the hat).
Shape the top of the hat as follows:
- (K4, k2tog) to end of row (55 stitches remain)
- P
- (K3, k2tog) to end of row (44 stitches remain)
- P
- (K2, k2tog) to end of row (33 stitches remain)
- P
- (K1, k2tog) to end of row (22 stitches remain)
- P
- (K2tog) to end of row (11 stitches remain)
Leaving enough yarn to sew up back seam, break off. Thread through remaining stitches and draw up to form top of hat. Secure and sew up back seam. Weave in all loose ends.
To finish your hand knit baby beanie hat
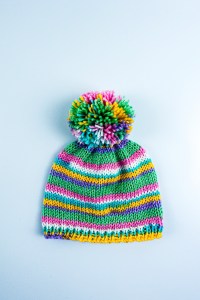
As you can see, I have added a faux fur pompom to my hat. You don’t have to add a pompom of course, as beanies look super cute as they are without them. You could make your own pompom if would prefer this to a faux fur pompom.
I want to recommend a certain type of faux fur pompom to anyone who likes to knit hats for babies and children. They are a certain brand who sell on Amazon and I wanted to mention them because I have bought some AWFUL pompoms, and these ones are nice, round and fluffy.
The pompoms are 8cm, so not massive, but I think they are perfect for baby hats. Click here to find the pompoms that I buy if you would like to avoid buying out of shape, rubbish ones. You can see below how the hat might look if you make your own pompom. Looks pretty cool with the self striping yarn!
Resizing your baby hat
For a newborn hat, I would cast on 60 stitches and knit to 10cm instead of 12. Shape the same, the only thing is that the stitch count when decreasing won’t be the same as stated above. The knitting pattern will still work though.
Thanks so much for visiting The Knitting Times today, I hope you have enjoyed this free baby beanie hat knitting pattern.
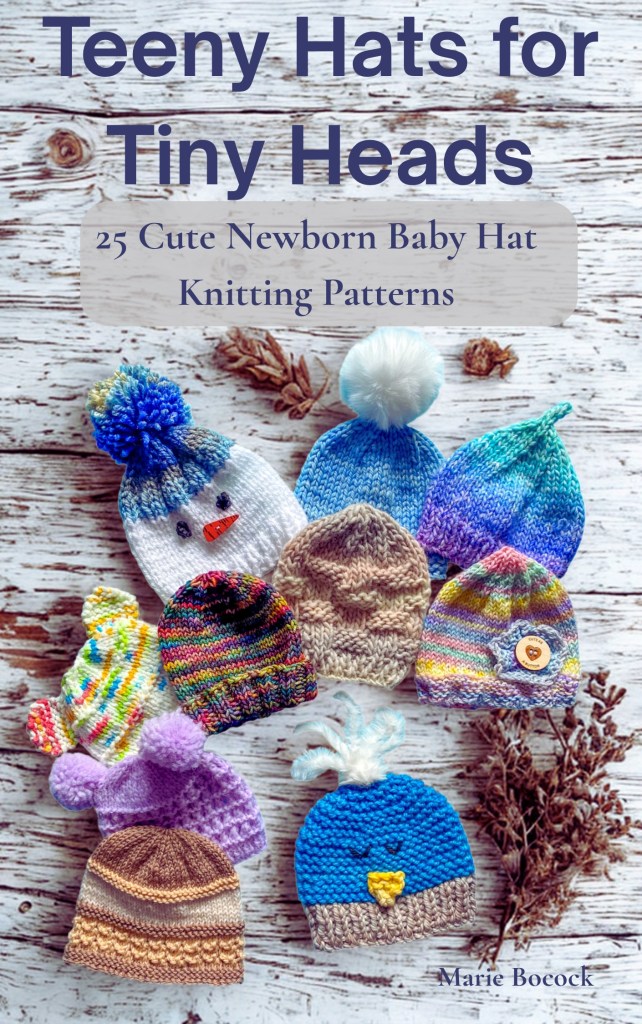
You can find more of my newborn baby hat designs in the collection Teeny Hats for Tiny Heads: 25 Cute Newborn Hat Knitting patterns.


Congratulations! 🙂
LikeLike
I just finished this pattern for my grandson. So cute and simple. Thank you.
LikeLike
Aww thanks so much I am so happy you like it
LikeLike
Absolutely beautiful baby beanie hat. I’ve just made one and am delighted with it. Thank you
LikeLike
Oh that’s great news I am so happy you like the pattern 🙂
LikeLike
i
LikeLike
Thank you. Love the pattern Congratulations grandma xx
LikeLike
Thanks so much
LikeLike
I’m not familiar with the size dk in yarn. All I know is xx ply. Conversion or help here would be appreciated 👍
LikeLike
Hello it’s 8 ply I need to start writing that in the patterns 🙂
LikeLike
Thanks so much! Might start on one for new grandbaby while I’m in bed unwell! Looks easy enough for someone who’s not picked up knitting needles for a looong time😉
LikeLike
It’s very easy to knit have a go and congratulations!
LikeLike
in Australia it is 8 ply
LikeLike
I’ve made this baby hat and it turned out wonderful! I’m just wondering if I wanted to make one slightly bigger size how many stitches should I add? Would 6 be enough to make a difference?
Thank you!
LikeLike
Hello! I am so glad your baby hat worked out well. I guess it depends how much bigger you want a hat – you can look how many stitches per 2cm of work and add them on. Height wise don’t go up much – it’s the width that changes more as babies grow.
LikeLike
Thank you for your response, I’m starting with adding 6 stitches and seeing how that turns out.
LikeLiked by 1 person